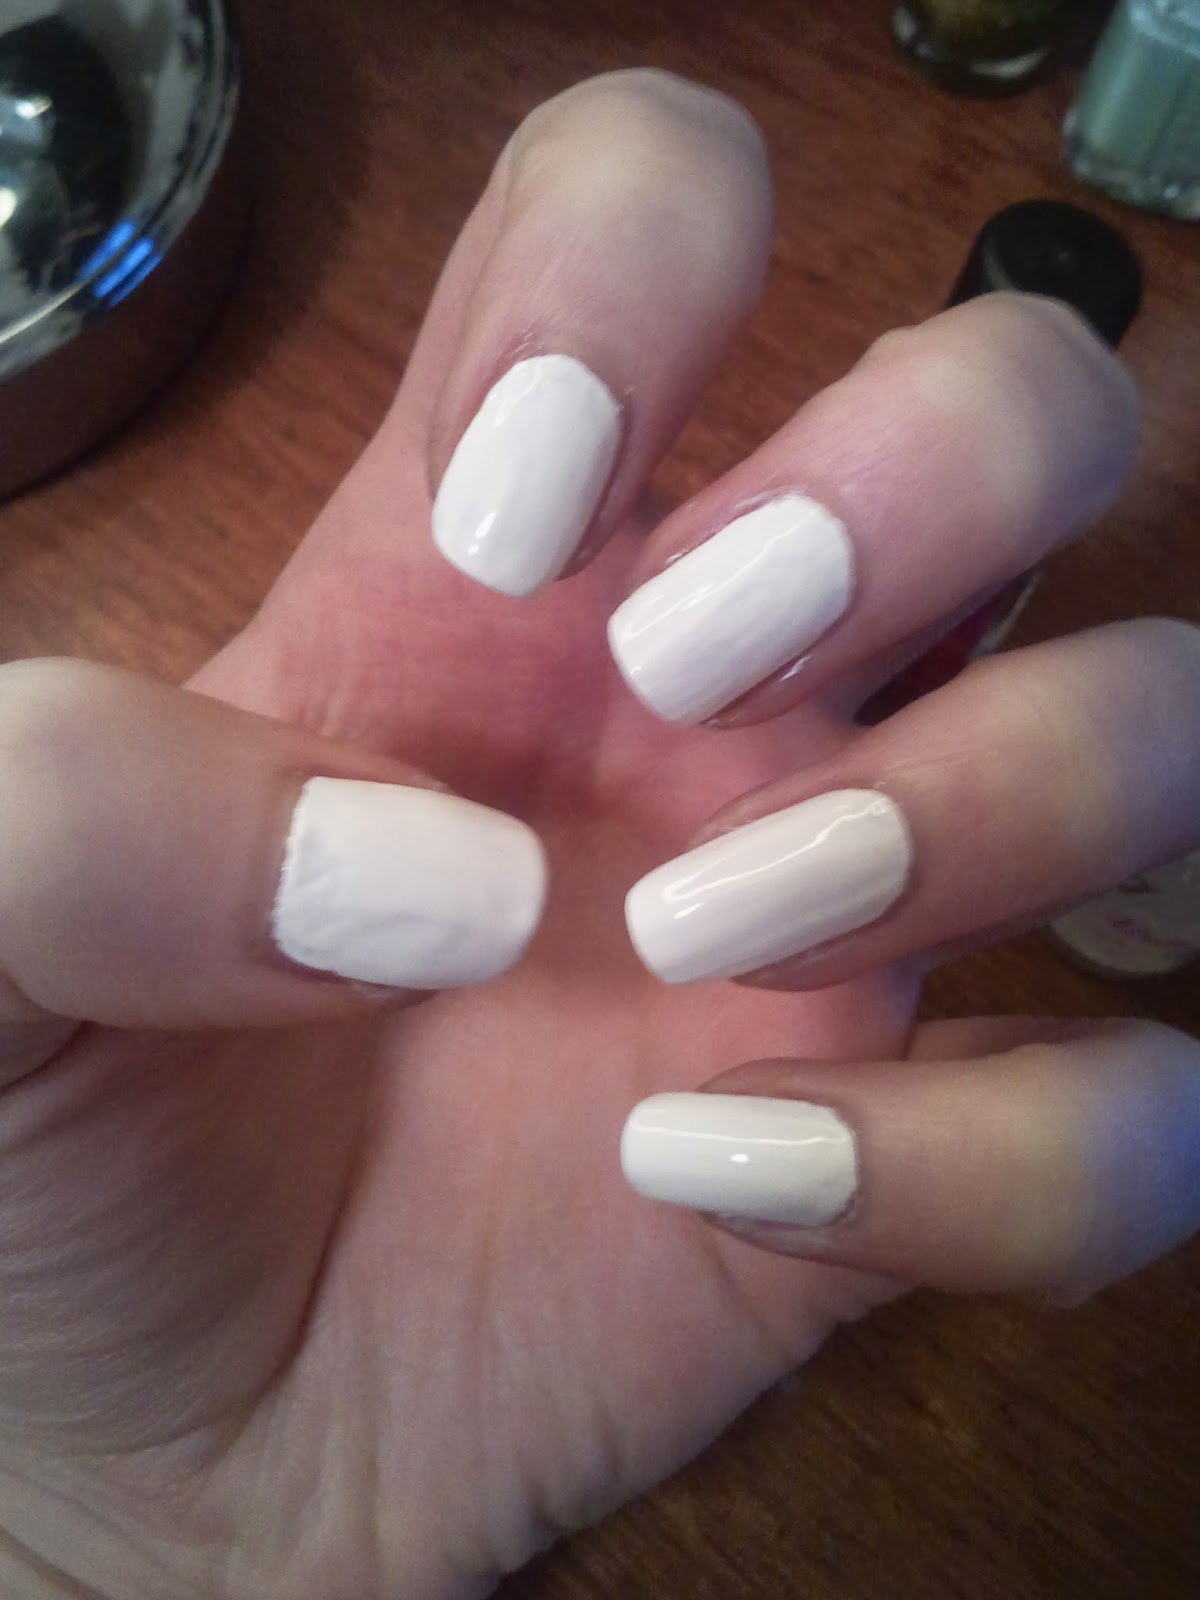
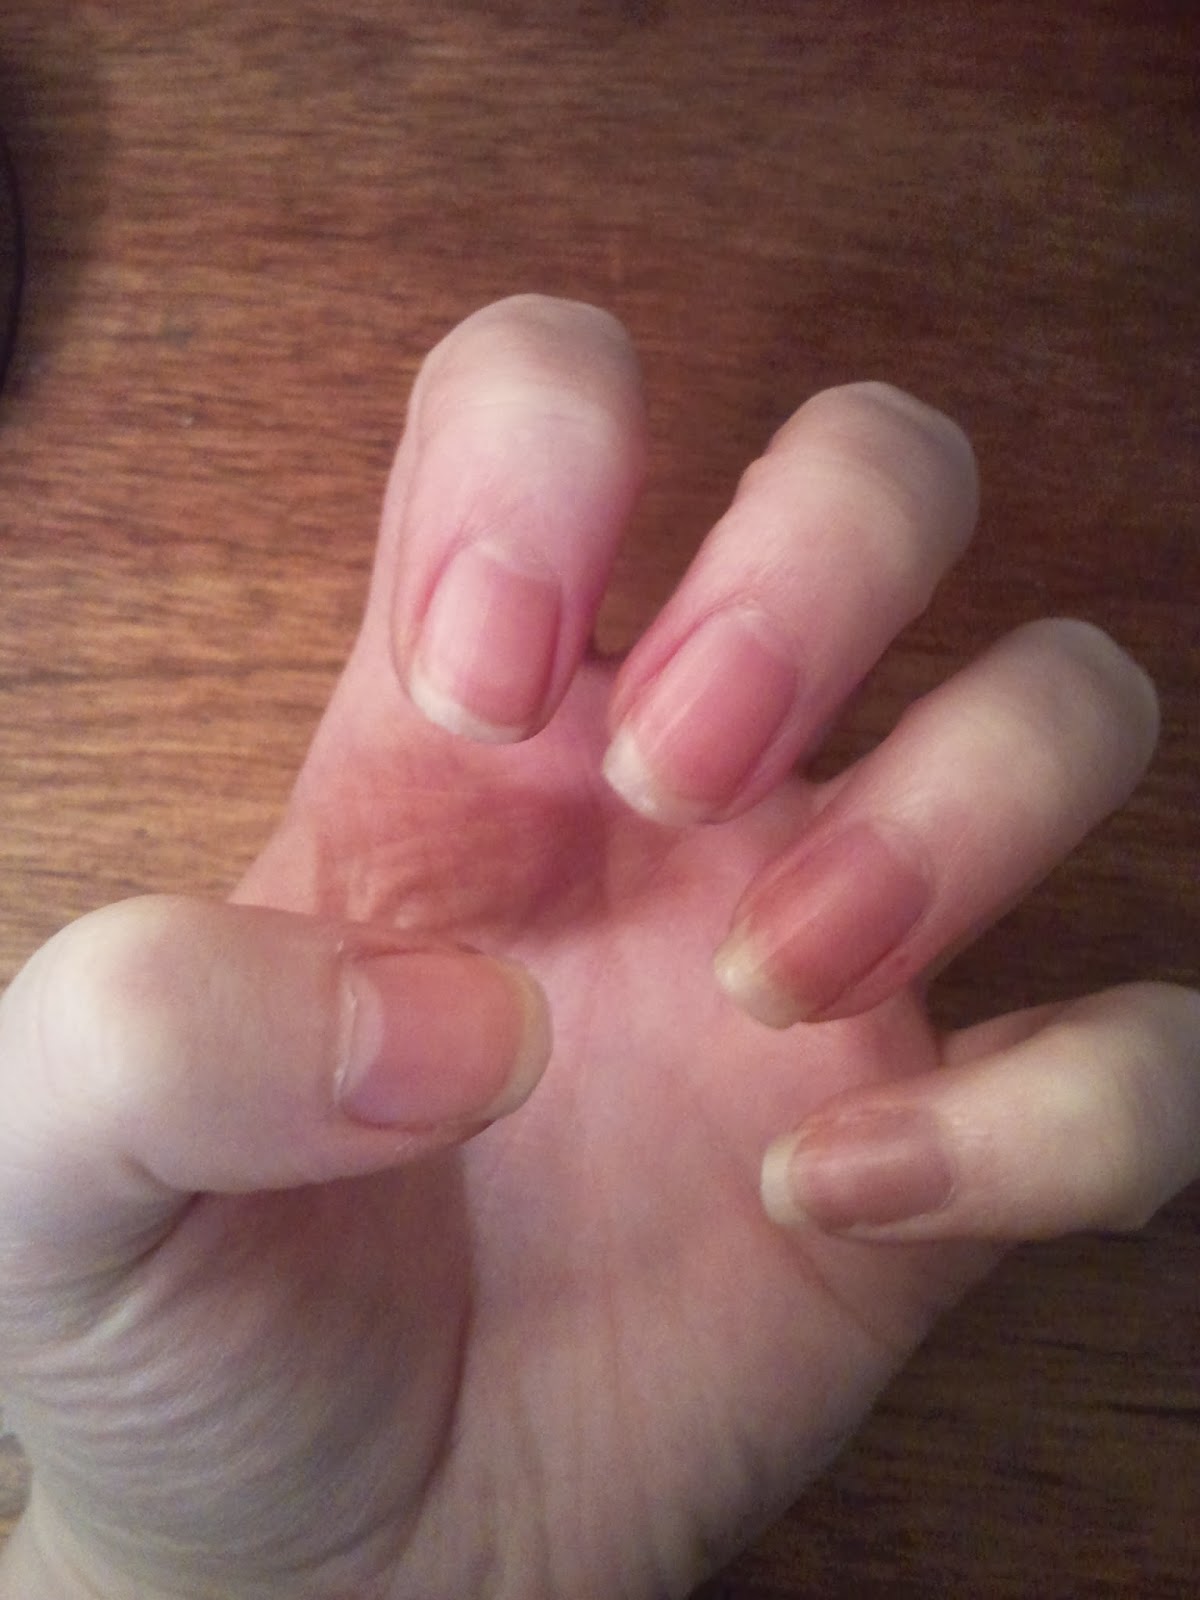
I know that this is the 3rd post of the day and I have got loads to show you. I'm just going about my daily life and just finding things that I want to show you so I thought I'd share this one. I got 3 sets of these nail stickers by Essie as well as 6 of their polishes :) I've never tried nail stickers before nd I always feel a little skeptical about them because I have 1 really weird shaped nail and I just think that the shapes they give you are only going to work on those who have perfect shape nails. Anyway, here are my thoughts/tutorial.
So I am using 09 Stickers and Stones.
It is a simple brown/grey colour with bubbled gem style details on the side of the nail.
So I have trimmed my nails down so that they are all even an filed them straight. My hands are thoroughly clean and sanitized.
So I applied one of the appliques and to be honest I really like it so far!
They have good sticking ability and fit on my nail quite well.
They give you 14 stickers in a set so that at least you have some options about size.
So here it is before I've trimmed it down (sorry the picture's blurry).
You just need to make sure that it fits your nail alright and that it is properly stuck down before trimming the sticker.
And here is the final result!
I did have a little bit of an issue with some of the edges not sticking down so well but I fixed this by just applying a bit of base coat underneath like a glue.
So I really like them so far, hopefully they will last as long as they say they will but I guess I will find out!
- Roo xx
Showing posts with label Nails. Show all posts
Friday, 27 December 2013
Saturday, 21 December 2013
Day 5 Christmas Nails!! Deck the Halls
So I have been really trying to get these uploaded for you and I hope that you appreciate the effort considering that it is 4 days before Christmas and I have yet to finish my wrapping! Jokes :P All aside I love anyone who reads my blog and just that makes me happy enough - I will however feel quite disappointed if I can't get these finished in time :/
But anyway, Here is day 5!
PS, when I have just uploaded the photos I realised I did such a crap job of documenting this. So it just jumps really far :S
So I hear you ask, 'what will I need for this?' Well it's your lucky day because I'm going to tell you!
- Glittery Green Polish
- Black Nail Polish
- White Nail Polish
- Red Nail Polish
- Yellow Nail Polish
Clean nail and I'm just going to mention this part because my mind failed to remind me to take pictures.
Take a base coat and apply that before anything else (Obv!)
Then take the glitter green polish and apply a few coats of that to build up opacity and when that's completely dry you can move onto the nail art.
As you can see I did kind of skip ahead a little, but this is where you should get to after this next step.
Take the black polish and draw the wire for fairy lights.
You can make this as random as you like which is what I like about this design. Really use your imagination and be as creative as possible.
Take the red, yellow and white to draw the bulbs.
You can choose what ever colours you like but I thought that these would look the best. So add as many bulbs as you like.
Add a top coat and then the look is finished.
I really hope you like this and feel free to share your designs with me too.
-Roo xx
But anyway, Here is day 5!
![]() |
| Fairy lights! |
PS, when I have just uploaded the photos I realised I did such a crap job of documenting this. So it just jumps really far :S
![]() |
- Glittery Green Polish
- Black Nail Polish
- White Nail Polish
- Red Nail Polish
- Yellow Nail Polish
Clean nail and I'm just going to mention this part because my mind failed to remind me to take pictures.
Take a base coat and apply that before anything else (Obv!)
Then take the glitter green polish and apply a few coats of that to build up opacity and when that's completely dry you can move onto the nail art.
As you can see I did kind of skip ahead a little, but this is where you should get to after this next step.
Take the black polish and draw the wire for fairy lights.
You can make this as random as you like which is what I like about this design. Really use your imagination and be as creative as possible.
Take the red, yellow and white to draw the bulbs.
You can choose what ever colours you like but I thought that these would look the best. So add as many bulbs as you like.
Add a top coat and then the look is finished.
I really hope you like this and feel free to share your designs with me too.
-Roo xx
Friday, 20 December 2013
Christmas Nails Day 4! Gingerbread Manicure
This is a super simple design as you really are only painting your ring fingers, I think it looks so sweet and really elegant for the holidays.
So what you will need;
- Light brown polish
- White polish
- Black polish
- Red polish
- Cocktail sticks
Pictures sideways but oh well!
Clean nails! Make sure they are all uniform and well treated.
After applying a base coat take the brown polish and draw out a little ginger bread man shape on your nail. Then let it dry befre we add any detail.
Take your white polish and with either a cocktail stick or a nail art attachments draw on little buttons and trim on the arms and legs.
Take a cocktail stick and with the red polish add colour to the little buttons and add a smile, a bit like strawberry laces!
Take the black and add some eyes. Your nails are now done!
Super simple and really easy to do. Try it out and let me know how it goes for you all!
- Roo xx
BONUS PICTURE!!
So I really had to include this because I thought it was amazing but as I was taking the polish off, this happened!

He stayed in tact and I just thought it was soo beautfiul that I really had to share this with you :D
So what you will need;- Light brown polish
- White polish
- Black polish
- Red polish
- Cocktail sticks
Pictures sideways but oh well!
Clean nails! Make sure they are all uniform and well treated.
After applying a base coat take the brown polish and draw out a little ginger bread man shape on your nail. Then let it dry befre we add any detail.
Take your white polish and with either a cocktail stick or a nail art attachments draw on little buttons and trim on the arms and legs.
Take a cocktail stick and with the red polish add colour to the little buttons and add a smile, a bit like strawberry laces!
Take the black and add some eyes. Your nails are now done!
Super simple and really easy to do. Try it out and let me know how it goes for you all!
- Roo xx
BONUS PICTURE!!
So I really had to include this because I thought it was amazing but as I was taking the polish off, this happened!

Day 3 Christmas Nails - Candy Cane
I mentioned in a previous post about the consistency of the posting of these nail tutorials and to be honest I've been quite bad with it. I have long days at work and when I get at home I feel stupidly tired (I legit nearly fell asleep in my dinner tonight) but this shouldn't be an excuse, especially if I promise to do something, so I'm sorry for delaying this and keeping you all out of the loop a little. But anyway, I'm going to do bulk uploads of these tutorials to get them done before Christmas which is when I said that I would get them up by - actually I said a week before Christmas but that is no longer an option (sorry!)
Here we go!
So you will need;
- Base/Top coat (Sorry not pictured)
- Red polish
- White polish
- Glitter coat (optional)
- Striping brush
As per the norm, strip your nails and make sure they are perfectly clean.
After you've applied a base and let it set, put on a coat or 2 of your white polish.
Make sure that it id completely covered and there aren't any sheer patches.
Let it fully dry, like not just touch dry but really dry.
Take a striping brush or the nail polish brush (if your certain you can get a neat line) a paint red lines across in whatever direction you want. I chose to do mine diagonal because I prefer it.
Continue to do this to the rest of your nails until it looks like this.
I added quite a few coats of glitter because I think it adds something and who doesn't love glitter!
This is the final design I hope that you like this tutorial and I will try my best to get the rest uploaded asap.
Roo x
Here we go!
So you will need;
- Base/Top coat (Sorry not pictured)
- Red polish
- White polish
- Glitter coat (optional)
- Striping brush
As per the norm, strip your nails and make sure they are perfectly clean.
After you've applied a base and let it set, put on a coat or 2 of your white polish.
Make sure that it id completely covered and there aren't any sheer patches.
Let it fully dry, like not just touch dry but really dry.
Take a striping brush or the nail polish brush (if your certain you can get a neat line) a paint red lines across in whatever direction you want. I chose to do mine diagonal because I prefer it.
Continue to do this to the rest of your nails until it looks like this.
I added quite a few coats of glitter because I think it adds something and who doesn't love glitter!
This is the final design I hope that you like this tutorial and I will try my best to get the rest uploaded asap.
Roo x
Tuesday, 10 December 2013
Day 2 Christmas Nails - Snowy Rudolph
I know that I am posting day 2 before day 1 which it very confusing. Day 1 is actually in video form and is undergoing final editing, I tried to upload it but it failed so I have to start again :(
Anyway, I am going to alternate between YouTube and blog just to try and keep new posts coming in on both. I really love this one, I just think it looks so pretty and it's perfect if you work somewhere where you can't have bright coloured nails or anything too flashy :)
On to the tutorial!
What you will need:
- Nail file (as always, neaten up those edges!)
- Top/Base Coat, mines Sally Hansen Double Duty
- White nail polish, mine comes in a handy little nail art pen :)
- Light brown nail polish, I can't remember the name of mine but I know it's by Bourjois.
- Red nail polish, I chose a metallic because it adds a bit more dimension to the design.
- Black nail polish, mine a Nails Inc./Kate Spade one because it came with a magazine haha.
- Rainbow glitter top coat.
- Cocktail sticks (For fine detail)
So clean, file nails as always, I'm just going tot apply a nice even layer of the base coat. Leave it to dry for about 5-10 mins before moving onto the next step.
One that has dried you can add little random white dots on your nails. It looks good either uniform or random because we are going for a snow look. If you don't have a nail art pen like the one I have then the cocktail stick come in super useful. Failing that you could use the end of a paperclip, a flat bottomed pin or anything with a fine point, be creative!
I got excited and skipped ahead a little before taking any more photos haha, sorry!
with the brown nail polish just make the shape of a reindeer hear and antlers, again cocktail stick of details :)
Dab on the red nail polish at the bottom of the nail so it looks like he's peering over :P
Take the black polish and you should know by now what we need to do the eye, that's right - Cocktail sticks!
make them big enough to stand out but not too big that they take over the design.
And some glitter! Everything looks better with a little glitter!
And you're done! It's so simple but I think it still looks really festive.
Anyway, stay tune because I will be posting more but not for a few days, I'll have to upload quite a few in a day for you but I am away in Brussels as of tomorrow :D Ahh excited!
Anyway, I'll keep you posted.
- Roo xx
Anyway, I am going to alternate between YouTube and blog just to try and keep new posts coming in on both. I really love this one, I just think it looks so pretty and it's perfect if you work somewhere where you can't have bright coloured nails or anything too flashy :)
On to the tutorial!
What you will need:
- Nail file (as always, neaten up those edges!)
- Top/Base Coat, mines Sally Hansen Double Duty
- White nail polish, mine comes in a handy little nail art pen :)
- Light brown nail polish, I can't remember the name of mine but I know it's by Bourjois.
- Red nail polish, I chose a metallic because it adds a bit more dimension to the design.
- Black nail polish, mine a Nails Inc./Kate Spade one because it came with a magazine haha.
- Rainbow glitter top coat.
- Cocktail sticks (For fine detail)
So clean, file nails as always, I'm just going tot apply a nice even layer of the base coat. Leave it to dry for about 5-10 mins before moving onto the next step.One that has dried you can add little random white dots on your nails. It looks good either uniform or random because we are going for a snow look. If you don't have a nail art pen like the one I have then the cocktail stick come in super useful. Failing that you could use the end of a paperclip, a flat bottomed pin or anything with a fine point, be creative!
I got excited and skipped ahead a little before taking any more photos haha, sorry!
with the brown nail polish just make the shape of a reindeer hear and antlers, again cocktail stick of details :)
Dab on the red nail polish at the bottom of the nail so it looks like he's peering over :P
Take the black polish and you should know by now what we need to do the eye, that's right - Cocktail sticks!
make them big enough to stand out but not too big that they take over the design.
And some glitter! Everything looks better with a little glitter!And you're done! It's so simple but I think it still looks really festive.
Anyway, stay tune because I will be posting more but not for a few days, I'll have to upload quite a few in a day for you but I am away in Brussels as of tomorrow :D Ahh excited!
Anyway, I'll keep you posted.
- Roo xx
Friday, 6 December 2013
Upcoming Project! - Twelve Days of Christmas Nails!
So if you have read an earlier post of mine then you will know that I am doing a set of nail tutorials based on the 12 days of Christmas. I have had a look into this and (after much care and thought going into this!) It would be very difficult not to mention strange to have leaping lords and milking maids on your nails. Not only that but you also can't fit 12 individual things on 10 nails unless you are willing to compromise on space and quality of design.
Any who, I don't want to disappoint you all so I am still doing this but it will be based on very recognisably Christmassy things instead of based on the song. I thought that this would also be a lot easier for everyone if they were wanting to try them out for reals!
More to the point, today is the first day of filming and if I don't get this up by today then it will certainly be by tomorrow or Sunday at the very latest. I am trying to work in a way that I will get all of these designs done for you and still give you plenty of time before Christmas to gather your supplies.
Be sure to keep an eye out for these and I will speak soon!
- Roo xx
Any who, I don't want to disappoint you all so I am still doing this but it will be based on very recognisably Christmassy things instead of based on the song. I thought that this would also be a lot easier for everyone if they were wanting to try them out for reals!
More to the point, today is the first day of filming and if I don't get this up by today then it will certainly be by tomorrow or Sunday at the very latest. I am trying to work in a way that I will get all of these designs done for you and still give you plenty of time before Christmas to gather your supplies.
Be sure to keep an eye out for these and I will speak soon!
- Roo xx
Sunday, 1 December 2013
The Not Quite Ready For Christmas Nails!
I thought that it would be a good idea to show you a nail idea which is perfect for those of us who can't accept that it's close to Christmas and are generally not prepared, but also want to try!
This is going to be your equipment for this look, not much but that's perfect for this look :)
- Boots 17 Magnetic Nail Polish - I have a deep green colour but I don't know the name haha. Also these magnetic polishes are half price in Boots at the moment but I think you need to claim your voucher with your Advantage card.
- Boots 17 Glitter Top Coat
- Sally Hansen Double Duty top and base coat
- Nail File
My nails are looking a little messy but anyway. It's always good to start off with clean hands and neat nails, so file down any rough edges and make your nails about the same length.
Apply a base coat with the Sally Hansen Double Duty or any base coat you prefer, this helps to prolong the wear of your polish and to also protect your natural nail from the colour of the polish your going to use.
This is actually my first time of using a magnetic polish and though they have been around for a long time I have never seen the need to buy it. This actually applies really thick and and you will only need one coat. Whilst the polish is still wet, use the magnet on top of the lid and hold close above your nail for a few seconds. Try not to touch your nail with it, pull the magnet away and you'll see the pattern emerge.
This is the finished result once the magnetic polish has dried, it has an amazing holographic effect and is just so effortless to do.
After your nails are dry apply 2 coats of the glitter top coat, depending obviously on how glittery the polish you have chosen is.
And Here we are! The finished result! I love this design because it is perfect for the purpose, the colour is Wintery and the glitter add a little something but it doesn't outright look like Christmas nails.
I really hope you like this look and let me know if you give it a go.
Also, I have a special project coming up for which I have to be super dedicated! I am going to do themed nails based on the 12 days of Christmas and I have a few ideas for some but this is going to be a challenge, I will try and get all of the videos up for about a week before christmas to give you all a chance to get your supplies and give them a go :)
So keep your eyes peeled :)
- Roo xx
This is going to be your equipment for this look, not much but that's perfect for this look :)
- Boots 17 Magnetic Nail Polish - I have a deep green colour but I don't know the name haha. Also these magnetic polishes are half price in Boots at the moment but I think you need to claim your voucher with your Advantage card.
- Boots 17 Glitter Top Coat
- Sally Hansen Double Duty top and base coat
- Nail File
My nails are looking a little messy but anyway. It's always good to start off with clean hands and neat nails, so file down any rough edges and make your nails about the same length.
Apply a base coat with the Sally Hansen Double Duty or any base coat you prefer, this helps to prolong the wear of your polish and to also protect your natural nail from the colour of the polish your going to use.
This is actually my first time of using a magnetic polish and though they have been around for a long time I have never seen the need to buy it. This actually applies really thick and and you will only need one coat. Whilst the polish is still wet, use the magnet on top of the lid and hold close above your nail for a few seconds. Try not to touch your nail with it, pull the magnet away and you'll see the pattern emerge.
This is the finished result once the magnetic polish has dried, it has an amazing holographic effect and is just so effortless to do.
After your nails are dry apply 2 coats of the glitter top coat, depending obviously on how glittery the polish you have chosen is.
And Here we are! The finished result! I love this design because it is perfect for the purpose, the colour is Wintery and the glitter add a little something but it doesn't outright look like Christmas nails.
I really hope you like this look and let me know if you give it a go.
Also, I have a special project coming up for which I have to be super dedicated! I am going to do themed nails based on the 12 days of Christmas and I have a few ideas for some but this is going to be a challenge, I will try and get all of the videos up for about a week before christmas to give you all a chance to get your supplies and give them a go :)
So keep your eyes peeled :)
- Roo xx
Friday, 15 November 2013
Schedule again!
I have another sort of schedule I want to follow and I can't promise that it's going to work out smooth but I want to get a few things out there.
Firstly, I want to get another makeup tutorial out there, more specifically a barely there makeup tutorial for those who don't have much time in the morning to go full glam!
Next I want to get a few more hauls done and this is totally subject to my funds, bearing in mind that it's nearly Christmas and my money will be focused on presents and I certainly can't show you that!!
I want to get a few Christmas nail tutorials done because I love doing my nails this time of year :)
Finally I was thinking of doing a few Christmas themed makeup tutorials ranging from colour themes to everyday wearable makeup.
Like I say this is only a rough guide of what I'm going to be dong for the rest of the year and I would totally appreciate any suggestions of what you would like to see :)
So I will speak soon and will hopefully post a video for you guys :)
-Roo x
Firstly, I want to get another makeup tutorial out there, more specifically a barely there makeup tutorial for those who don't have much time in the morning to go full glam!
Next I want to get a few more hauls done and this is totally subject to my funds, bearing in mind that it's nearly Christmas and my money will be focused on presents and I certainly can't show you that!!
I want to get a few Christmas nail tutorials done because I love doing my nails this time of year :)
Finally I was thinking of doing a few Christmas themed makeup tutorials ranging from colour themes to everyday wearable makeup.
Like I say this is only a rough guide of what I'm going to be dong for the rest of the year and I would totally appreciate any suggestions of what you would like to see :)
So I will speak soon and will hopefully post a video for you guys :)
-Roo x
Friday, 27 September 2013
Violet Makeup
Here is a makeup look that I created today incorporating the colour violet.
Products used;
Skin;
- MAC Fix+
- Clinique Anti-Blemish Solutions Foundation in Alabaster
- No7 Airbrush Away Primer
- Revlon Nearly Naked Pressed Powder in 010 Fair
- Collection concealer
- Benefit Fakeup in Light
Cheeks;
- NARS Blush in Deepthroat
- NARS Highlighter in Albatross
Eyes;
- Benefit Instant Brows pencil in Light
- Urban Decay Primer Potion
- MAC Opalesse Extra Dimensions Eyeshadow
- MAC Her Alter Image Eyeshadow from the Venomous Villains collection
- MAC Vile Violet Eyeshadow from the Venomous Villains collection
- Maybelline gel eyeliner in black
- Revlon white eyeshadow from the Colorstay Adventurous pallet
- Clinique black eyeliner
- Smashbox mascara (Can't remember what it's called)
- Katy Perry false eyelashes with purple strands
Lips;
- Maybelline Baby Lips in Hydrating
- MAC Ruby Woo Lipstick
- MAC Vile Violet Eyeshadow from the Venomous Villains collection (For ombre effect)
Nails;
- No7 metallic purple nail polish (Can't remember what it's called)
Anyway, if you want a tutorial on this look then just let me know in the comments :)
- Rubyx
Products used;
Skin;
- MAC Fix+
- Clinique Anti-Blemish Solutions Foundation in Alabaster
- No7 Airbrush Away Primer
- Revlon Nearly Naked Pressed Powder in 010 Fair
- Collection concealer
- Benefit Fakeup in Light
Cheeks;
- NARS Blush in Deepthroat
- NARS Highlighter in Albatross
Eyes;
- Benefit Instant Brows pencil in Light
- Urban Decay Primer Potion
- MAC Opalesse Extra Dimensions Eyeshadow
- MAC Her Alter Image Eyeshadow from the Venomous Villains collection
- MAC Vile Violet Eyeshadow from the Venomous Villains collection
- Maybelline gel eyeliner in black
- Revlon white eyeshadow from the Colorstay Adventurous pallet
- Clinique black eyeliner
- Smashbox mascara (Can't remember what it's called)
- Katy Perry false eyelashes with purple strands
Lips;
- Maybelline Baby Lips in Hydrating
- MAC Ruby Woo Lipstick
- MAC Vile Violet Eyeshadow from the Venomous Villains collection (For ombre effect)
Nails;
- No7 metallic purple nail polish (Can't remember what it's called)
Anyway, if you want a tutorial on this look then just let me know in the comments :)
- Rubyx
Sunday, 2 June 2013
May Haul/Review
I have decided that I am going to start doing a monthly haul/review sort of thing, though this could end up being a little difficult because I suppose some months there might not be anything that I have to show you :S
Anyway, I have done a little shopping last month and as we are now officially into June then I can show a completed May haul/review and I will apologise in advance for the picture to text ratio, so sorry about that!. Here we go...
First of all I picked up this Smashbox Try It Kit from boots for £19 and for that price I thought it would be worth a shot.
So In this kit (From left to right) :
1. Photo Finish Primer
2. Photo Finish Lid Primer
3. Limitless Eye Liner - Onyx
4. Hyperlash Mascara
5. Lip Enhancing Gloss
My first thoughts when seeing what was in the box was that it is really a decent starter kit and because I had never used smash box before than this would be the best was to get introduced to it. I have tried other primers/lid primers before so it is interesting to see how well they compare to the others.
I have actually used all of these products so here are my thoughts:
1. Photo Finish Primer:
I actually really like this! I have heard very mixed reviews and I can see why. I love the feel of the product on my skin and it does make my skin a little matte but not as much as I would have hoped for. It feels soo luxurious on the skin and it really smooths everything out. So over all I do like it and I would either consider buying it again or choosing another primer from Smashbox and I am very interested in trying the green colour correcting primer that they have as that is a very big issue for my skin.
2. Photo Finish Lid Primer:
I was using the Urban Decay Primer Potion before using this primer and I really love my primer potion, it is the perfect formula but I like this primer as well. The primer applies in the same way as Urban Decay but for some weird reason the formula feels a bit rough :/ It's also coloured to about a light medium skin tone which I'm really not a fan of because I have such fair skin...Actually after a bit of research, they only have one colour and it's described as warm beige. So as much as I think that it's a nice primer I think I'll stick to my Urban Decay.
3. Limitless Eyeliner - Onyx
I have wanted to buy a new pencil eyeliner for a while and it's great that I have this one to try. I was using the Clinique Quickliner but I was thinking about buying the Urban Decay 24/7 Glide on Eyeliner. I just want something that would work well for tightlining (If you have any suggestions then let me know) so it needs to stay and be nice to apply. I found that this was nice to apply on skin but when I was trying to apply it to my tightline it was a little difficult to get on a first but then finally went on. It is a really nice quality eyeliner and stays on quite and the colour is quite intense, but I much prefer a gel liner for my eyes.
4. Hyperlash Mascara:
I LOVE this mascara, Its a standard plastic brush but one edge has a row of slightly longer spikes. It's fantastic for lengthening and volumising lashes. It's not a harsh formula that dries solid so touching up on your mascara won't hurt too much.I would seriously recommend giving this a try.
5. Lip Enhancing Lipgloss:
I'm always a bit dubious about new lipglosses, mainly because there is nothing worse than a sticky lipgloss, especially if you have long hair like me. This one wasn't too sticky but I would still have to tie my hair back, the colour is really nice - its like a sparkly champagne. There was one thing that I really didn't like and it was that after a while it felt really gritty on my lips so I probably wouldn't buy this again but I will finish it.
This is another Smashbox mascara and I managed to only get this for £2! They were having a charity event at their counter in Boots Eldon Square where if you donated to Macmillan Cancer Support then you got to do a lucky dip :)
It's a really nice mascara and the formula isn't too different to the Hyperlash but the brush gives a fuller effect and I think this usually retails for around £17 so compared to some other brands then it's not too bad of a price.
I would like to just this opportunity to mention a bit more about Macmillan Cancer Support and how important their work is. They raise money so that there can be a higher quality of support for those who are suffering with cancer, providing them with the appropriate care and someone to be there for them because they believe that no one should have to go through it alone. I really feel that their work is exceptional and that more people should know about their work. Here's their website --> http://www.macmillan.org.uk/Home.aspx
I have also been to M.A.C and bought myself a few little goodies :)
This first one is the Extra Dimensions Eyeshadow in Opalesse
and this makes a brilliant brow and cheek bone highlighter.
It's a two tone pearly shadow. Mainly white with a purple effect.
It's bigger than the normal eyeshadows and I think it casts about £16.50
I have heard loads of beauty bloggers talking about how much they like this lipstick and so I decided that I would give it a try!
I absolutely love the smell of M.A.C lipsticks and their colour range is fantastic. This is the colour Creme Cup and it is a Cremesheen finish and its a pinky beige colour which I think is fantastic for everyday wear!
The lipsticks cost about £14 which I don't think is massively over priced and they have virtually every colour you could ever want!
I also bought my first ever M.A.C Nail Laquer and this is the colour Pistachio Creme which is a pale mint green.
It costs about £10 which is reasonable considering there are other brands which would cost more.
It's similar to Essie Mint Candy Apple but I think this is slightly more blue and could pass for a Tiffany's Blue.
I love this and the packaging is lovely but if I do buy another then I think I will go for something a little more obscure and unique.
I was also in Lush and I went in specifically to buy the Karma soap but when I got to the counter to pay the sales assistant said that they also made a perfume in the same scent.
There are 3 different intensities to this perfume and the solid one (pictured) is the weakest but by no means is it subtle.
They have one in a long tube which is the second strongest and
then one in a black bottle which is the strongest.
The solid perfume only costs £5 so it's really inexpensive and it has the most amazing smell. Though I would suggest that it is more of an autumn/ winter fragrance.
I hope that I haven't completely completely rambled on and if you think that I haven't provided you with the answers you wanted about a specific product shown then just let me know and I'll get back to you ASAP :)
I hope you like this post :)
- Ruby
Anyway, I have done a little shopping last month and as we are now officially into June then I can show a completed May haul/review and I will apologise in advance for the picture to text ratio, so sorry about that!. Here we go...
First of all I picked up this Smashbox Try It Kit from boots for £19 and for that price I thought it would be worth a shot.So In this kit (From left to right) :
1. Photo Finish Primer
2. Photo Finish Lid Primer
3. Limitless Eye Liner - Onyx
4. Hyperlash Mascara
5. Lip Enhancing Gloss
My first thoughts when seeing what was in the box was that it is really a decent starter kit and because I had never used smash box before than this would be the best was to get introduced to it. I have tried other primers/lid primers before so it is interesting to see how well they compare to the others.
I have actually used all of these products so here are my thoughts:
1. Photo Finish Primer:
I actually really like this! I have heard very mixed reviews and I can see why. I love the feel of the product on my skin and it does make my skin a little matte but not as much as I would have hoped for. It feels soo luxurious on the skin and it really smooths everything out. So over all I do like it and I would either consider buying it again or choosing another primer from Smashbox and I am very interested in trying the green colour correcting primer that they have as that is a very big issue for my skin.
2. Photo Finish Lid Primer:
I was using the Urban Decay Primer Potion before using this primer and I really love my primer potion, it is the perfect formula but I like this primer as well. The primer applies in the same way as Urban Decay but for some weird reason the formula feels a bit rough :/ It's also coloured to about a light medium skin tone which I'm really not a fan of because I have such fair skin...Actually after a bit of research, they only have one colour and it's described as warm beige. So as much as I think that it's a nice primer I think I'll stick to my Urban Decay.
3. Limitless Eyeliner - Onyx
I have wanted to buy a new pencil eyeliner for a while and it's great that I have this one to try. I was using the Clinique Quickliner but I was thinking about buying the Urban Decay 24/7 Glide on Eyeliner. I just want something that would work well for tightlining (If you have any suggestions then let me know) so it needs to stay and be nice to apply. I found that this was nice to apply on skin but when I was trying to apply it to my tightline it was a little difficult to get on a first but then finally went on. It is a really nice quality eyeliner and stays on quite and the colour is quite intense, but I much prefer a gel liner for my eyes.
4. Hyperlash Mascara:
I LOVE this mascara, Its a standard plastic brush but one edge has a row of slightly longer spikes. It's fantastic for lengthening and volumising lashes. It's not a harsh formula that dries solid so touching up on your mascara won't hurt too much.I would seriously recommend giving this a try.
5. Lip Enhancing Lipgloss:
I'm always a bit dubious about new lipglosses, mainly because there is nothing worse than a sticky lipgloss, especially if you have long hair like me. This one wasn't too sticky but I would still have to tie my hair back, the colour is really nice - its like a sparkly champagne. There was one thing that I really didn't like and it was that after a while it felt really gritty on my lips so I probably wouldn't buy this again but I will finish it.
This is another Smashbox mascara and I managed to only get this for £2! They were having a charity event at their counter in Boots Eldon Square where if you donated to Macmillan Cancer Support then you got to do a lucky dip :)
It's a really nice mascara and the formula isn't too different to the Hyperlash but the brush gives a fuller effect and I think this usually retails for around £17 so compared to some other brands then it's not too bad of a price.
I would like to just this opportunity to mention a bit more about Macmillan Cancer Support and how important their work is. They raise money so that there can be a higher quality of support for those who are suffering with cancer, providing them with the appropriate care and someone to be there for them because they believe that no one should have to go through it alone. I really feel that their work is exceptional and that more people should know about their work. Here's their website --> http://www.macmillan.org.uk/Home.aspx
I have also been to M.A.C and bought myself a few little goodies :)
This first one is the Extra Dimensions Eyeshadow in Opalesse
and this makes a brilliant brow and cheek bone highlighter.
It's a two tone pearly shadow. Mainly white with a purple effect.
It's bigger than the normal eyeshadows and I think it casts about £16.50
I have heard loads of beauty bloggers talking about how much they like this lipstick and so I decided that I would give it a try!
I absolutely love the smell of M.A.C lipsticks and their colour range is fantastic. This is the colour Creme Cup and it is a Cremesheen finish and its a pinky beige colour which I think is fantastic for everyday wear!
The lipsticks cost about £14 which I don't think is massively over priced and they have virtually every colour you could ever want!
I also bought my first ever M.A.C Nail Laquer and this is the colour Pistachio Creme which is a pale mint green.
It costs about £10 which is reasonable considering there are other brands which would cost more.
It's similar to Essie Mint Candy Apple but I think this is slightly more blue and could pass for a Tiffany's Blue.
I love this and the packaging is lovely but if I do buy another then I think I will go for something a little more obscure and unique.
I was also in Lush and I went in specifically to buy the Karma soap but when I got to the counter to pay the sales assistant said that they also made a perfume in the same scent.
There are 3 different intensities to this perfume and the solid one (pictured) is the weakest but by no means is it subtle.
They have one in a long tube which is the second strongest and
then one in a black bottle which is the strongest.
The solid perfume only costs £5 so it's really inexpensive and it has the most amazing smell. Though I would suggest that it is more of an autumn/ winter fragrance.
I hope that I haven't completely completely rambled on and if you think that I haven't provided you with the answers you wanted about a specific product shown then just let me know and I'll get back to you ASAP :)
I hope you like this post :)
- Ruby
Tuesday, 12 February 2013
Valentine's Day Nail Tutorial
Valentine's Day is less than 2 days away! So I have decided to do my very own nail tutorial :)
So I'm going to run through, step by step, how you can get this nail design :)
So, what you will need^;
- Tape (For masking the area around your nails)
- Nail Polish Remover (To clean up any mess around the nail)
- Cotton Buds/Q Tips (Use with nail polish remover)
- Cup of Water (To do the Water Marble technique)
- Cocktail Sticks (To draw pattern in the water)
- Selection of nail polishes, inc. Top/base coat and a base colour.
- Nail File/Filing tool to even out nail lengths.
So, step 1.
Remove any nail polish that you have on already.
Make sure that your hands are completely clean to stop any dust/dirt getting into the water.
Step 2.
If your nails are a little uneven then grab a nail file and file down any areas that need a little work.
I use the No7 Electric file, they can be a little difficult to control but do cut down on the time.
Step 3.
You need to prep your nails for the technique.
To begin with use a clear base coat on your nails and let it thoroughly dry.
Next, Choose a base colour. I recommend using white or pale nude as this will produce the best colour results.
You can skip the base colour if you want the finish to be sheer.
Step 4.
Not too sure if you can see this too well but I have taped around my nails so that the design doesn't transfer onto my skin :)
So I selected my colours and they are (From left to right);
- No7 Stay Perfect in Vivid Violet
- No7 Stay Perfect in So Simple
-Misa Nail Lacquer in Total Eclipse of the Heart
-OPI Brights in That's Hot! Pink
Step 5.
What you need to do is carefully drop your first colour into the water, it should spread out and become very opaque, this is good because as you build the colours it will become more visible.
So once the first colour has spread, drop the second colour directly in the middle of the first and then let that one spread.
Keep doing this with about 3/4 colours until you build a colour ring which looks similar to the picture, you can add more rings if you like so you can build up the intensity. You need to build the ring as fast as possible otherwise it will dry and you won't be able to draw your pattern.
Step 6.
Take your cocktail stick and gently draw lines in the water, dragging the polish as you go.
I decided to make the flower patter you can see.
You want to be careful not to put the stick in too deep otherwise the colour ring will split and the colour will bleed out.
So as soon you have your desired pattern, you are ready to do the transfer.
Step 7.
Line up your nail with the part of the pattern you want to transfer and dunk your nail in. Keep your finger in the water until you have swept up the excess polish with a cocktail stick.
Your nails should end up something like the picture, hopefully with less mistakes :)
My nails are a little messy right now so what you need to do next is take a cotton bud/q tip and clean around any areas where polish isn't supposed to be.
So this is what the finished product should be!
Cute Water Marbled nails with bright pinks, peaches and purples :)
I really hope you like this nail tutorial :)
Have fun experimenting with this technique and have a great Valentine's Day!
-Ruby
So I'm going to run through, step by step, how you can get this nail design :)
So, what you will need^;
- Tape (For masking the area around your nails)
- Nail Polish Remover (To clean up any mess around the nail)
- Cotton Buds/Q Tips (Use with nail polish remover)
- Cup of Water (To do the Water Marble technique)
- Cocktail Sticks (To draw pattern in the water)
- Selection of nail polishes, inc. Top/base coat and a base colour.
- Nail File/Filing tool to even out nail lengths.
So, step 1.Remove any nail polish that you have on already.
Make sure that your hands are completely clean to stop any dust/dirt getting into the water.
Step 2.
If your nails are a little uneven then grab a nail file and file down any areas that need a little work.
I use the No7 Electric file, they can be a little difficult to control but do cut down on the time.
Step 3.
You need to prep your nails for the technique.
To begin with use a clear base coat on your nails and let it thoroughly dry.
Next, Choose a base colour. I recommend using white or pale nude as this will produce the best colour results.
You can skip the base colour if you want the finish to be sheer.
Step 4.
Not too sure if you can see this too well but I have taped around my nails so that the design doesn't transfer onto my skin :)
So I selected my colours and they are (From left to right);
- No7 Stay Perfect in Vivid Violet
- No7 Stay Perfect in So Simple
-Misa Nail Lacquer in Total Eclipse of the Heart
-OPI Brights in That's Hot! Pink
Step 5.What you need to do is carefully drop your first colour into the water, it should spread out and become very opaque, this is good because as you build the colours it will become more visible.
So once the first colour has spread, drop the second colour directly in the middle of the first and then let that one spread.
Keep doing this with about 3/4 colours until you build a colour ring which looks similar to the picture, you can add more rings if you like so you can build up the intensity. You need to build the ring as fast as possible otherwise it will dry and you won't be able to draw your pattern.
Step 6.Take your cocktail stick and gently draw lines in the water, dragging the polish as you go.
I decided to make the flower patter you can see.
You want to be careful not to put the stick in too deep otherwise the colour ring will split and the colour will bleed out.
So as soon you have your desired pattern, you are ready to do the transfer.
Step 7.
Line up your nail with the part of the pattern you want to transfer and dunk your nail in. Keep your finger in the water until you have swept up the excess polish with a cocktail stick.
Your nails should end up something like the picture, hopefully with less mistakes :)
My nails are a little messy right now so what you need to do next is take a cotton bud/q tip and clean around any areas where polish isn't supposed to be.
So this is what the finished product should be!
Cute Water Marbled nails with bright pinks, peaches and purples :)
I really hope you like this nail tutorial :)
Have fun experimenting with this technique and have a great Valentine's Day!
-Ruby
Subscribe to:
Posts (Atom)