I'm working on quite a fun video at the moment, should be up in the next hour or so but in the mean time if you haven't seen my second video then here it is:
August 2013 Favourites!!
http://youtu.be/mijs4wYYayg
Enjoy!
- Ruby x

Sunday, 8 September 2013

Friday, 30 August 2013
My First Ever YouTube Video
Finnaly, I have done it, this is my first ever video.
I hope that you like it and please let my know your thoughts.
-Ruby x
Sunday, 25 August 2013
Update!
Ahhh I'm soo excited!!!
I just wanted to update on something which I had wanted to happen for a very long time but nothing ever seemed to fall into place. I may be able to upload my first ever YouTube video by the end of the week! All I need to do is charge my video camera. The lighting is perfect, my setup is great and I have some ideas for content! Literally all it comes down to now is being able to edit the video and pray that it will upload alright.
Get ready!
- Ruby
I just wanted to update on something which I had wanted to happen for a very long time but nothing ever seemed to fall into place. I may be able to upload my first ever YouTube video by the end of the week! All I need to do is charge my video camera. The lighting is perfect, my setup is great and I have some ideas for content! Literally all it comes down to now is being able to edit the video and pray that it will upload alright.
Get ready!
- Ruby
Smoky Eye Tutorial!
It's been a while since I have done a tutorial and I think I'm a little overdue. It's late but I've got my coffee and I'm ready to go!
Currently it's 11:20pm and I'm just about to get started :) Here we go!
 Obviously we need to start off with a clean and fresh base canvas to work on.
I have just used Boots Essential Cucumber Eye Make-up Remover which is nice and gentle and also has a very soothing effect.
I have already done my brows before I got started just to save a little time.
Also a little note, you will have to excuse the state of my skin - I't having a little melt down and I'm suffering from a few annoying blemishes :/
 Right, so I have applied a primer before I get started.
I have used Smashbox Photo Finish Lid Primer. This primer is particularly useful if you have a little redness around the eyes as it has a nude pigment.
You can use any primer and usually I would use Urban Decay Primer Potion but as I do have redness I decided to change it up a little.


 I then used 'Darkhorse' which apparently I didn't not take a picture of :/
But it's a lovely dark bronze colour :)


I did take a picture of the next one! The darkest colour is 'Creep'. It's a shimmery black and to be honest the photo makes it look less intense than it actually is!


 The arrangement of these photos are going to come out a little strange but in this one I have applied 2 at once! I'm really good at this haha.
Any way, I have 'Virgin' on my browbone and 'Half Baked' on my inner corner. They are both shimmery so I have only used a small amount.


I had a bit of a decision on whether to use gel or liquid eyeliner, but I chose gel because personally I think it wears better and I have better control especially when doing a wing :)
 I took a black eyeliner pencil and tight-lined my eyes. To do this you fill in the upper lashline, this helps make your lashes look fuller and longer when applying mascara.
It's a little difficult to do at first but you just need to get used to having something that close to your eye. I personally think it's a lot more sensitive than the lower lash line. I twitched a lot when I first tried it and made an absolute mess haha!
 Before applying mascara it's important to curl your lashes. This helps lengthen your lashes once you've applied mascara as you can see more of the lash.
 Finally apply your mascara. I chose to use Lancome Hypnose Star and Lancome Hypnose. I recommend using 2 mascaras to help both lengthen and volumise your mascaras. I find that I have different mascaras that are good at doing one or the other to using both means you get the best effect.
You want to be sure that you don't over do the amount you apply of either mascara, you might end up with clumpy lashes and that's not a good look for anyone!
Let me know if you liked this tutorial and keep an eye out for more to come!
- Ruby x
Currently it's 11:20pm and I'm just about to get started :) Here we go!

I have just used Boots Essential Cucumber Eye Make-up Remover which is nice and gentle and also has a very soothing effect.
I have already done my brows before I got started just to save a little time.
Also a little note, you will have to excuse the state of my skin - I't having a little melt down and I'm suffering from a few annoying blemishes :/

I have used Smashbox Photo Finish Lid Primer. This primer is particularly useful if you have a little redness around the eyes as it has a nude pigment.
You can use any primer and usually I would use Urban Decay Primer Potion but as I do have redness I decided to change it up a little.


I am solely using my Urban Decay Naked palette for this tutorial and first of all I am covering my lid with 'Naked'. This is probably my most used colour because it is so versatile. This helps even out the colour of my lid and provide a base for the other colours I will use.

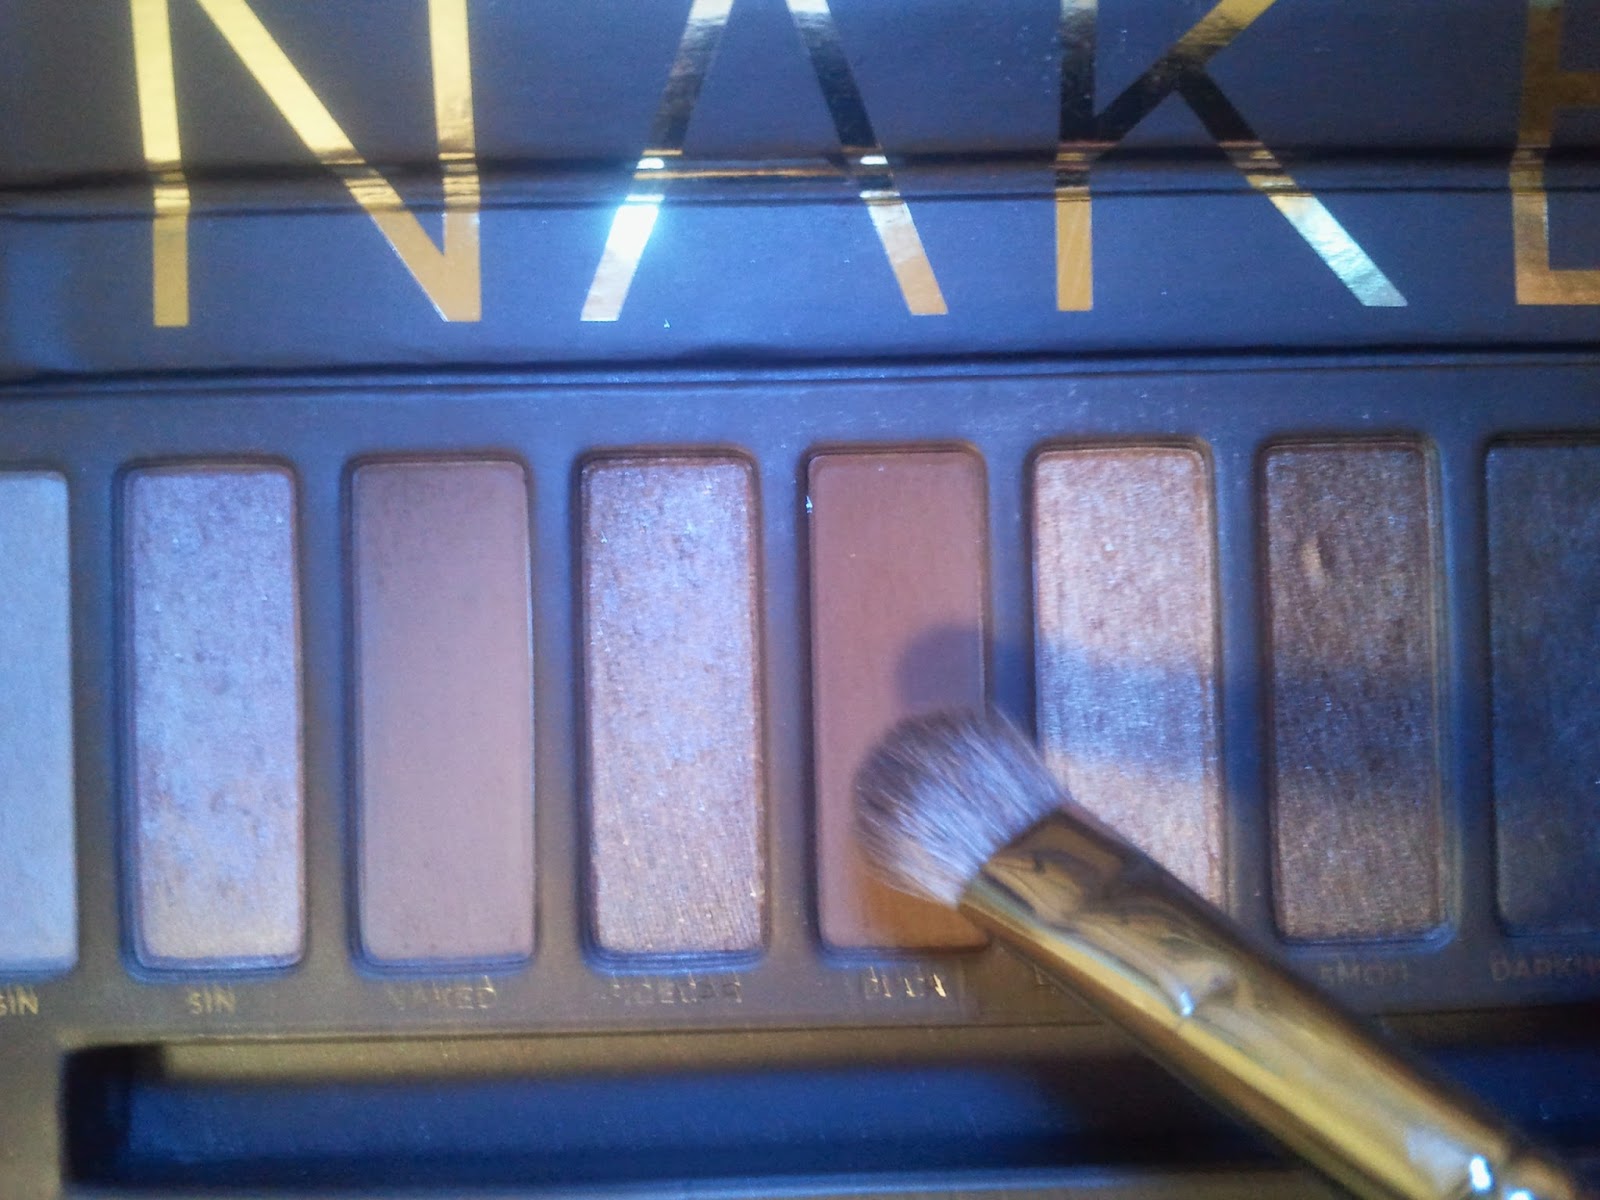
I have then applied 'Buck' which is a slightly darker shade onto the outer corner/crease. This helps build the colour and intensify the darker colours.


Next is 'Smog'. This is a bronze shade which I have applied from outer to mid lid. There are actually only 2 matte colours in this palette (Naked and Buck).

But it's a lovely dark bronze colour :)


Any way, I have 'Virgin' on my browbone and 'Half Baked' on my inner corner. They are both shimmery so I have only used a small amount.


 I took a black eyeliner pencil and tight-lined my eyes. To do this you fill in the upper lashline, this helps make your lashes look fuller and longer when applying mascara.
It's a little difficult to do at first but you just need to get used to having something that close to your eye. I personally think it's a lot more sensitive than the lower lash line. I twitched a lot when I first tried it and made an absolute mess haha!

 Finally apply your mascara. I chose to use Lancome Hypnose Star and Lancome Hypnose. I recommend using 2 mascaras to help both lengthen and volumise your mascaras. I find that I have different mascaras that are good at doing one or the other to using both means you get the best effect.
You want to be sure that you don't over do the amount you apply of either mascara, you might end up with clumpy lashes and that's not a good look for anyone!
Let me know if you liked this tutorial and keep an eye out for more to come!
- Ruby x
Sunday, 11 August 2013
Maybelline Baby Lips!
Eventually today I had managed to get my hands on one of the Baby Lips lip balms by Maybelline. I have never seen these being sold at any of the Maybelline stands around where I live and to be honest there weren't many to choose from when I did find them.
 There was only the choice of 2. Either the mint balm or the intense care balm, I chose the latter.
They were only £2.99! So much more inexpensive than I thought they were going to be.
There wasn't any of the tinted balms otherwise I would have gone for one of those but I really wanted to try one so really I didn't care which one I got to try first.
I have literally only had this for about 4/5 hours and I have not stopped using it.
I love the packaging too, it's quite simple but cute and I just want to get more just because I reckon they would look great on display haha!
I am so glad that I have this now, to be honest I really needed a good lip balm and as to whether it actually does any good is to be seen but I am hopeful for this product and I will probably be buying more of these in the future. I seriously recommend this to anyone who is after a cheap lipbalm.
-Ruby
 There was only the choice of 2. Either the mint balm or the intense care balm, I chose the latter.
They were only £2.99! So much more inexpensive than I thought they were going to be.
There wasn't any of the tinted balms otherwise I would have gone for one of those but I really wanted to try one so really I didn't care which one I got to try first.
I have literally only had this for about 4/5 hours and I have not stopped using it.
I love the packaging too, it's quite simple but cute and I just want to get more just because I reckon they would look great on display haha!
I am so glad that I have this now, to be honest I really needed a good lip balm and as to whether it actually does any good is to be seen but I am hopeful for this product and I will probably be buying more of these in the future. I seriously recommend this to anyone who is after a cheap lipbalm.
-Ruby
Subscribe to:
Posts (Atom)