I mentioned in a previous post about the consistency of the posting of these nail tutorials and to be honest I've been quite bad with it. I have long days at work and when I get at home I feel stupidly tired (I legit nearly fell asleep in my dinner tonight) but this shouldn't be an excuse, especially if I promise to do something, so I'm sorry for delaying this and keeping you all out of the loop a little. But anyway, I'm going to do bulk uploads of these tutorials to get them done before Christmas which is when I said that I would get them up by - actually I said a week before Christmas but that is no longer an option (sorry!)
Here we go!
So you will need;
- Base/Top coat (Sorry not pictured)
- Red polish
- White polish
- Glitter coat (optional)
- Striping brush
As per the norm, strip your nails and make sure they are perfectly clean.
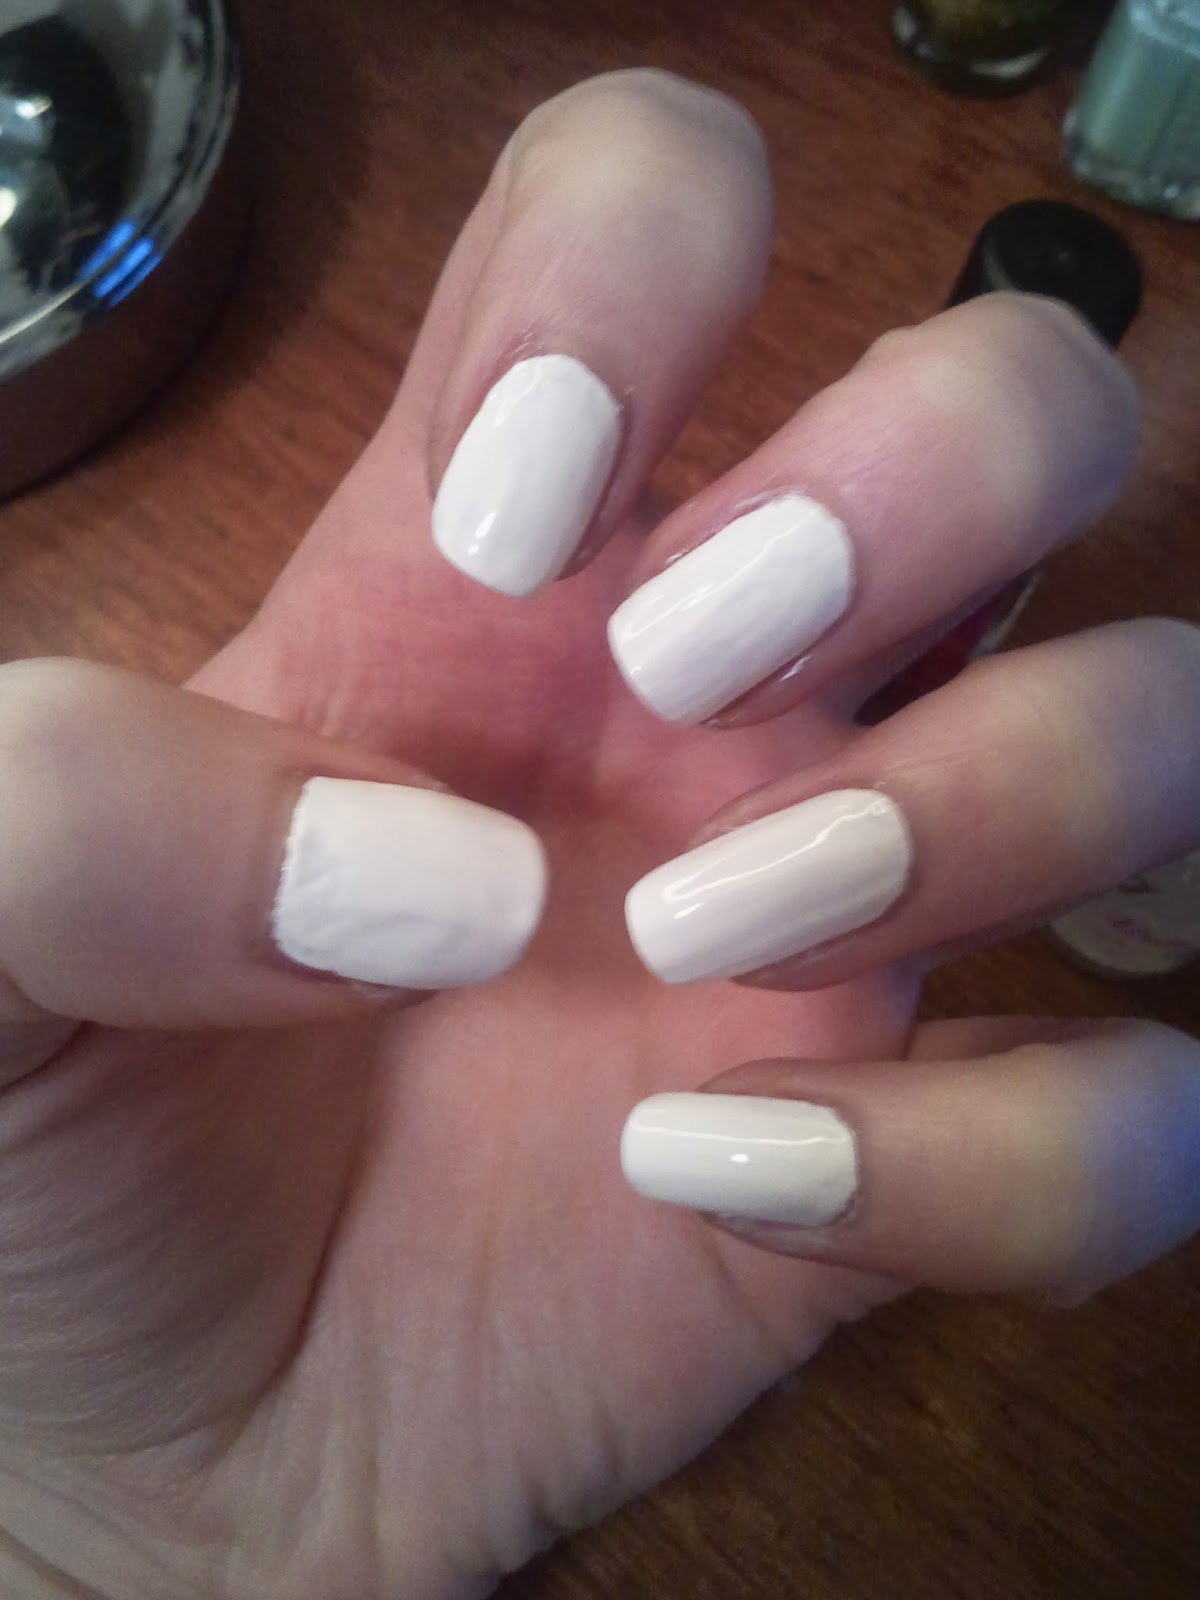
After you've applied a base and let it set, put on a coat or 2 of your white polish.
Make sure that it id completely covered and there aren't any sheer patches.
Let it fully dry, like not just touch dry but really dry.
Take a striping brush or the nail polish brush (if your certain you can get a neat line) a paint red lines across in whatever direction you want. I chose to do mine diagonal because I prefer it.
Continue to do this to the rest of your nails until it looks like this.
I added quite a few coats of glitter because I think it adds something and who doesn't love glitter!
This is the final design I hope that you like this tutorial and I will try my best to get the rest uploaded asap.
Roo x


No comments:
Post a Comment
I love to read everyone's thoughts, comments and opinions and I'll always try to reply :)